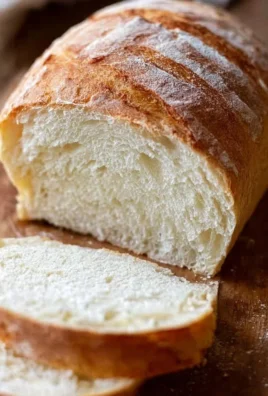
There’s something truly special about the aroma of fresh bread wafting through your kitchen. Tis 20-Minute Homemade Bread is the epitome of comfort — a warm, golden crust that gives way to a tender, fluffy interior. It’s a simple, versatile delight that you can eat on its own or use as a perfect accompaniment to any meal. I find myself making this easy bread whenever I need a quick, satisfying treat to share with friends or to savor during a quiet evening at home.
This bread comes together surprisingly fast, making it perfect for busy weeknights or spontaneous gatherings. With just a few ingredients and minimal effort, you’ll have a delicious loaf ready in no time. Plus, it’s incredibly versatile; it pairs beautifully with soups, stews, or even just a slathering of butter. Leftovers? Grab a slice for breakfast with some jam, or toast it up for a delightful snack!
Why I Love 20-Minute Homemade Bread
Honestly, 20-Minute Homemade Bread hits that sweet spot of ease and flavor. It’s incredibly easy and undeniably delicious, turning the kitchen into a cozy haven with its delightful scent. Whether I’m making it for guests, a family dinner, or just for myself, it’s a true winner at my table — everyone adores it, and I love how it brings warmth and a touch of homemade goodness into my day.
20-Minute Homemade Bread Ingredients
The magic of this bread truly lies in its simplicity, using basic ingredients you likely already have in your pantry. Don’t worry about exact measurements just yet; those are all in the recipe card for you!
Core Ingredients and Their Roles
- 2 CUPS ALL-PURPOSE FLOUR: The backbone of our bread, providing structure and texture.
- 1 TABLESPOON BAKING POWDER: This little gem packs a powerful punch, helping our bread rise quickly without yeast.
- 1 TEASPOON SALT: A crucial flavor enhancer, it brings out the best in our other ingredients.
- 1 TABLESPOON SUGAR: Just a hint of sweetness balances the flavors and helps achieve that lovely golden crust.
- 1 CUP MILK: This adds moisture and richness, creating a tender crumb.
- 1/4 CUP VEGETABLE OIL: It brings in a luscious softness, ensuring each bite is satisfying.
- Optional: HERBS, CHEESE, OR GARLIC: Feel free to toss in your favorites to elevate the flavor profile!
Substitutions and Tips
Need a swap? If you’re out of an ingredient, don’t fret! Here are a few alternatives:
- Milk: You can use almond milk or oat milk in a pinch, though it won’t be quite as rich.
- Vegetable Oil: Olive oil or melted butter work well if you want to add a hint of flavor.
- All-Purpose Flour: If you’re looking for a healthier option, whole wheat flour can be substituted, but be mindful that this will impact the texture.
A quick tip: If you’re aiming for a herb-infused loaf, add fresh or dried herbs to the dough for that extra zing. You can’t go wrong with a bit of garlic, either!
Kitchen Tools You’ll Need
- Large mixing bowl
- Whisk
- Baking sheet (or parchment paper)
- Measuring cups
- Knife (for scoring)
- Oven mitts

How to Make 20-Minute Homemade Bread
Let’s dive into creating this wonderfully warm bread. I’ve broken down the process into simple steps. Follow along, and you’ll have a delicious meal in no time. We’re aiming for a soft, golden bread that will make your heart sing!
Preheat and Prepare
First, preheat your oven to 400°F (200°C) and grease a baking sheet. This step sets the stage for baking our lovely bread to perfection!
Whisk Your Dry Ingredients
Next, in a large bowl, whisk together the 2 cups all-purpose flour, 1 tablespoon baking powder, 1 teaspoon salt, and 1 tablespoon sugar. This step is key, as it ensures that all ingredients are evenly distributed, making for a well-risen loaf.
Combine Wet Ingredients
Now, add 1 cup milk and 1/4 cup vegetable oil to the dry ingredients, stirring gently to form a dough. You should see the mixture start to come together into a shaggy ball, and it’s okay if it’s a bit sticky!
Knead It Out
Once combined, turn the dough onto a floured surface and knead for about 1 minute until smooth. This step helps develop the gluten, giving our bread that wonderful chewy texture.
Shape Your Loaf
Next, shape the dough into a round loaf and place it on the prepared baking sheet. Don’t worry if it looks a little rustic — that’s part of its charm!
Optional Scoring
If you want to make your bread even prettier, score the top with a knife to create a lovely design. This allows the bread to expand while baking, providing that gorgeous rustic look!
Bake to Golden Perfection
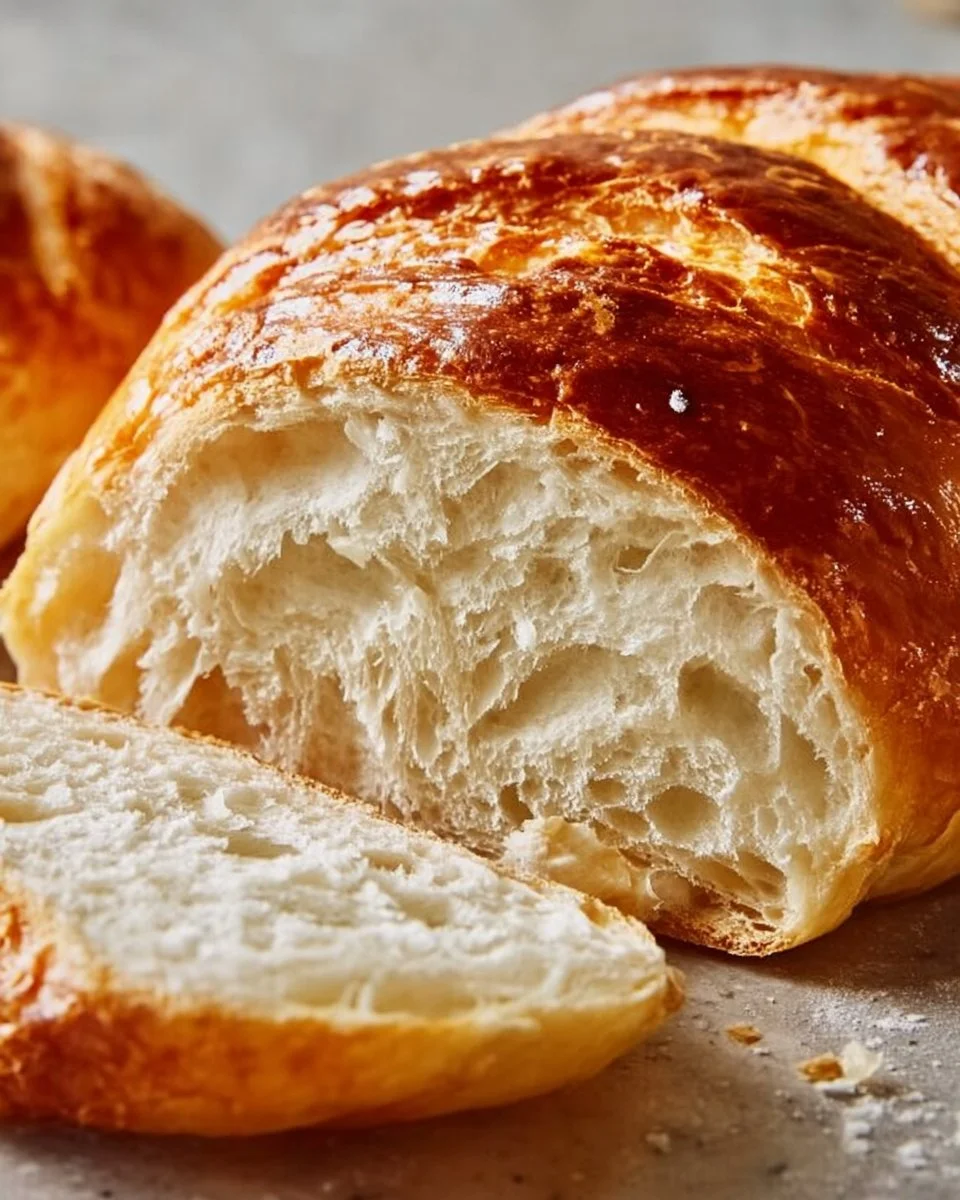
Finally, bake for 15-20 minutes or until your loaf is golden brown and sounds hollow when tapped. The aroma that fills your home will be intoxicating, making it hard to wait for it to cool!
Cool and Enjoy
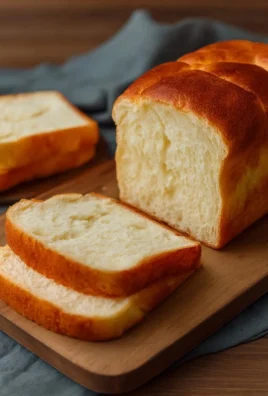
Let the bread cool slightly before slicing and serving. This step is essential to ensure the inside maintains its fluffy texture!
How to Store 20-Minute Homemade Bread
If you happen to have any leftovers (which I hardly ever do!), this bread keeps well at room temperature for about 2 days in an airtight container. For longer storage, you can refrigerate it for 3-4 days. Alternatively, freeze it for 2-3 months; just wrap it tightly and thaw at room temperature when you’re ready to enjoy again. To reheat, pop it in the oven for a few minutes to restore that freshly-baked warmth.
Tips for Success
- Use fresh baking powder: Make sure it’s not expired for the best rise!
- Knead just until smooth: Don’t over-knead, or your bread may become tough.
- Watch your baking time: Every oven is different; keep an eye on it!
- Add flavor: Experiment with your favorite herbs or spices for variety.
Serving Suggestions
- Serve with warm butter or olive oil for a simple yet satisfying bite.
- Pair with a hearty soup or salad for a complete meal.
- Use as a base for sandwiches, featuring fresh ingredients and your favorites.
- Enjoy alongside a fruit preserve for a delightful snack.
- Serve at brunch with a side of eggs and fresh fruit for a colorful spread.
In the end, this 20-Minute Homemade Bread is not just about making a quick loaf; it’s about the love and warmth that fills your home. Go ahead and whip up a batch — you won’t regret it! Happy baking!