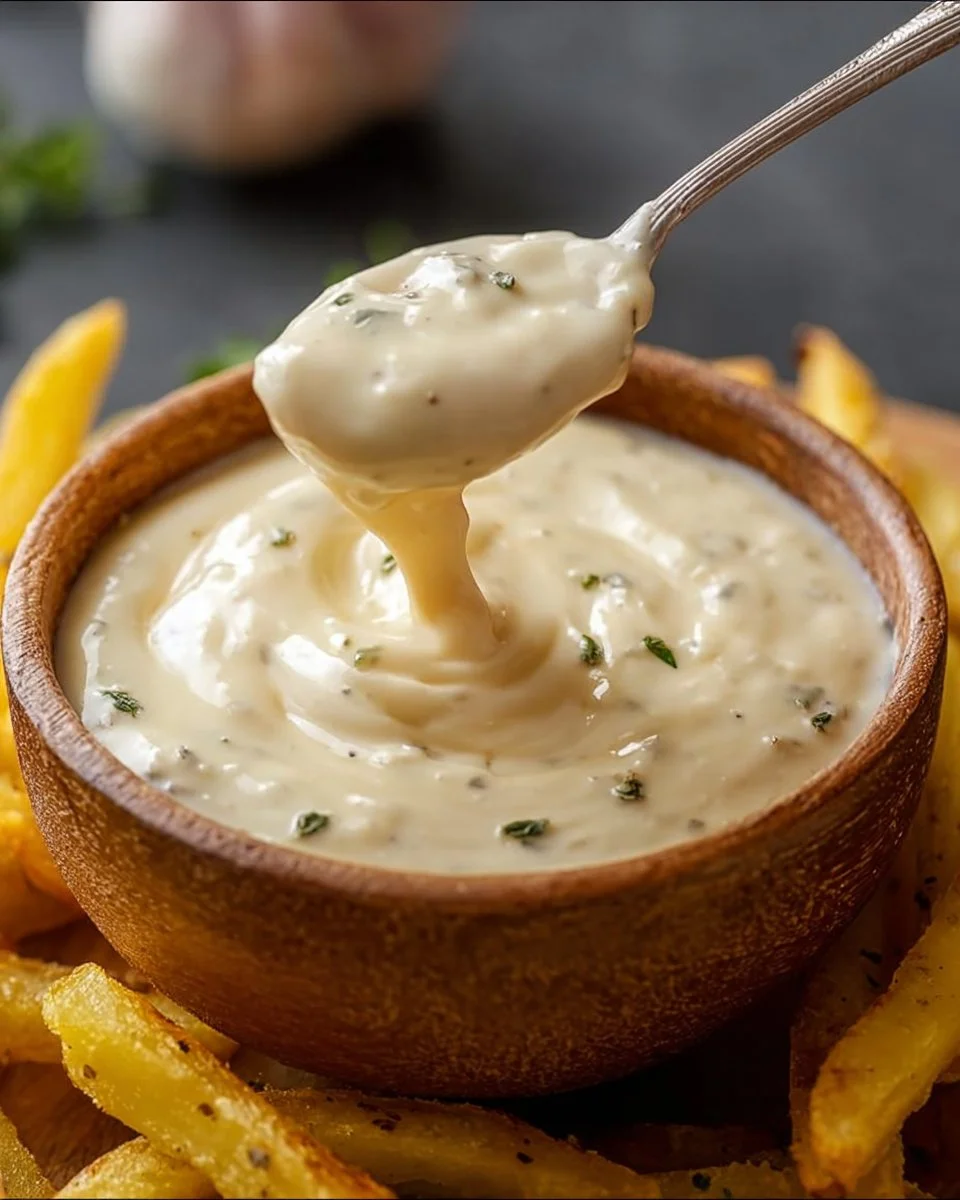
There’s something truly special about the creamy, garlicky goodness of homemade aioli. It’s a luscious blend that transforms any dish into a gourmet delight. Each dip and dollop reveals a thick, smooth texture that’s bursting with flavor, and the aroma of fresh garlic is simply irresistible. Honestly, this has become a staple in my kitchen, especially during those cozy gatherings with friends and family.
I’ve found that homemade aioli comes together surprisingly fast, making it perfect for busy weeknights or impromptu get-togethers. It’s incredibly versatile too; I use it as a dip for veggies, a spread for sandwiches, or as a sauce drizzled over grilled fish. And if by chance there are any leftovers, which is rare, they hold up beautifully for a few days in the fridge!
WHY I LOVE HOMEMADE AIOLI
Homemade Aioli is a true winner at my table. It’s incredibly easy and undeniably delicious, hitting that sweet spot when it comes to flavor. The fresh garlic brings a punch without overwhelming, while the lemon juice adds just the right amount of brightness. It feels elegant served alongside simple dishes, yet it’s casual enough to pair with fries or slather on a burger. You’ll see how easy it is to elevate any meal with this delightful sauce!
HOMEMADE AIOLI INGREDIENTS
The magic of this aioli truly lies in its simplicity and harmony of flavors. With just a handful of ingredients, you’ll create something extraordinary at home. Don’t worry about exact measurements just yet; those are all in the recipe card for you!
Essential Components
- 1 CUP MAYONNAISE: The creamy base that brings richness and smoothness to the aioli.
- 3 CLOVES GARLIC, MINCED: These little gems pack a mighty punch, infusing the sauce with bold, aromatic flavor.
- 1 TABLESPOON LEMON JUICE: Adds brightness and cuts through the richness, balancing the flavors perfectly.
- 1 TEASPOON DIJON MUSTARD: Provides a subtle tang and depth of flavor, elevating the overall taste.
- SALT AND PEPPER TO TASTE: Essential for enhancing the dish, helping each flavor shine.
- OLIVE OIL (OPTIONAL FOR THINNING): A drizzle can help adjust the texture if desired, lending a luxurious finish.
SUBSTITUTIONS AND TIPS
Want to switch things up? You can easily substitute ingredients while still achieving delicious results! For a lighter version, use Greek yogurt in place of mayonnaise, though it won’t be quite as rich. If you’re all out of Dijon, any mustard will do, and if you prefer a slightly spicier kick, try adding a pinch of cayenne pepper.
Here’s the thing: you can play around with flavors too! Fresh herbs like basil or parsley can be blended in for a vibrant twist. Just keep in mind that the garlic should be dominant, so balance is key. Also, a note on timing: allow your aioli to sit for at least 30 minutes in the fridge after mixing; it lets those flavors meld beautifully.
KITCHEN TOOLS YOU’LL NEED
- Medium mixing bowl
- Whisk (or a fork if you’re feeling adventurous)
- Garlic press (optional, for ease)
- Measuring spoons
- Airtight container for storage
- Rubber spatula (for scraping down the sides)
- Zester (if you want to add zest!)
HOW TO MAKE HOMEMADE AIOLI
Let’s dive into creating this incredibly easy homemade aioli. I’ve broken down the process into simple steps. Follow along, and you’ll have a delicious sauce in no time. We’re aiming for a creamy and flavorful dip that will impress!
Combine Base Ingredients
In a medium bowl, combine mayonnaise, minced garlic, lemon juice, and Dijon mustard. Whisk until smooth and well combined. This is key—you want a luscious base where all flavors meld together beautifully!
Season to Perfection
Once your mixture is smooth, season with salt and pepper to taste. Don’t be shy—this step is vital for bringing everything to life! The balance of flavors will make all the difference in your final dish.
Adjust Texture as Needed
If you prefer a thinner consistency, slowly drizzle in olive oil while whisking. You’ll see how the aioli transforms, becoming even creamier and richer. Keep whisking until you reach your desired texture—it’s all about your preference here!
Chill for Flavor Development
Serve immediately or, for an even better flavor experience, refrigerate the aioli for at least 30 minutes before enjoying. This allows the garlic to mellow and blend with the rest of the ingredients, enhancing the overall flavor profile.
HOW TO STORE HOMEMADE AIOLI
Leftovers of this homemade aioli hold up wonderfully in the refrigerator! Store it in an airtight container and consume within 3-4 days. It’s not recommended to leave it at room temperature for more than 2 hours or so, as its creamy magic is best kept cold. If you happen to freeze it, aim for a duration of about 2-3 months, thawing it overnight in the fridge before using. To reheat, simply let it sit at room temperature for a bit before serving!
TIPS FOR SUCCESS
- Use fresh garlic: The distinct flavor is irreplaceable!
- Don’t rush the whisking: Ensure everything is mixed well for that smooth finish.
- Taste as you go: Adjust the acidity or seasoning based on your preference!
- Chilling is crucial: This step really allows those flavors to develop fully.
SERVING SUGGESTIONS
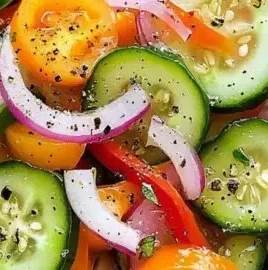
- Serve with fresh vegetable sticks for a refreshing dip.
- Spread it on sandwiches or wraps for a flavor boost.
- Pair it with grilled seafood or meats for a delightful touch.
- Use as a zesty sauce over roasted potatoes or sweet potatoes.
- Drizzle it on salads for an unexpected creamy dressing.
With this homemade aioli in your culinary arsenal, you’re ready to enhance any meal. Enjoy the process, savor each bite, and remember: cooking is all about love and sharing, so don’t hesitate to pass this favorite on to your friends!