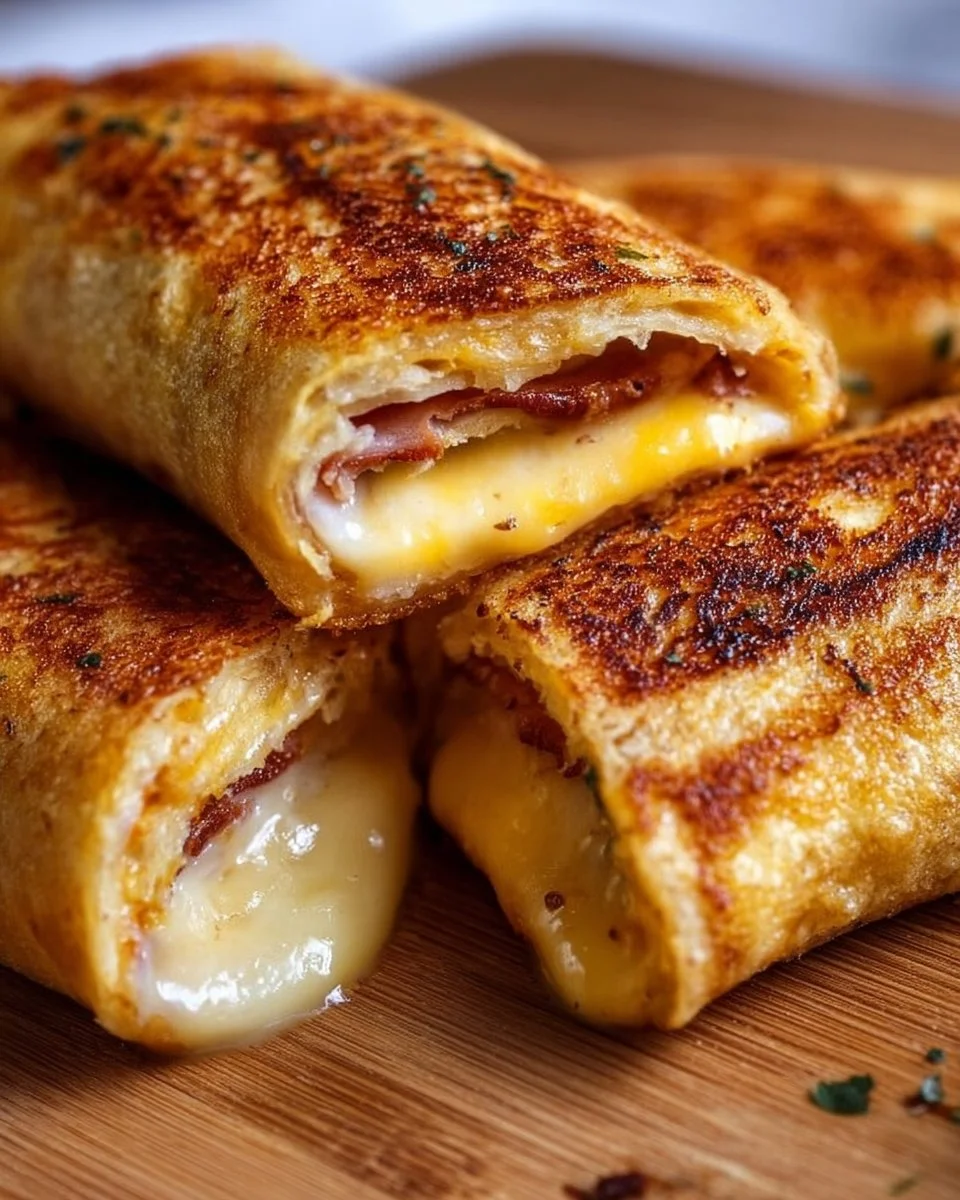
There’s something truly special about biting into a warm, crispy Grilled Cheese Roll Up—the way the golden exterior gives way to melty, gooey cheese is a comfort that wraps around you like a warm hug. These little beauties are a delightful twist on the classic grilled cheese sandwich, transforming it into an adorable, portable treat. Whenever I’m looking to indulge or need an easy snack for family movie night, I whip these up—because let’s be honest, who can resist that gooey deliciousness?
What I love about these roll-ups is that they come together surprisingly fast, making them perfect for busy weeknights or a quick party snack. They’re great for both kids and adults and can be filled with cheese varieties to suit everyone’s taste. Plus, if you’re lucky enough to have leftovers (which I rarely do), they reheat beautifully!
Why I Love Grilled Cheese Roll Ups
Grilled Cheese Roll Ups Recipe
These little gems hit that sweet spot between indulgence and nostalgia. They’re incredibly easy and undeniably delicious, making them a true winner at my table. Whether I’m hosting a casual gathering or craving a quick late-night snack, these roll-ups never fail to impress. They feel fancy yet comfortingly familiar, merging the best parts of childhood with a fun, adult twist!
Grilled Cheese Roll Ups Ingredients
The magic of this Grilled Cheese Roll Ups recipe truly lies in the harmonious blend of simple ingredients that work together to create a wonderfully satisfying bite. Don’t worry about exact measurements just yet; those are all in the recipe card for you!
Core Ingredients and Their Roles
- BREAD: 8-10 slices of soft white sandwich bread (crusts removed). The softer and fresher the bread, the easier it will be to flatten and roll without tearing. Wonder Bread or similar generic white bread works exceptionally well due to its pliability. Whole wheat can be used as well, but ensure it’s a soft variety.
- CHEESE: 8-10 slices of your favorite melting cheese. Classic choices include:
- Cheddar Cheese: Offers a sharp, tangy flavor.
- American Cheese: The ultimate melter, creamy and classic.
- Monterey Jack: Mild, buttery, and melts exceptionally well.
- Colby Jack: A delightful swirl of Colby and Monterey Jack, mild and great for melting.
- Provolone: Slightly more complex and smoky, stretching beautifully.
- BUTTER: 4-5 tablespoons of unsalted butter, softened to room temperature or melted. This is crucial for achieving that golden-brown, crispy exterior.
- OPTIONAL SEASONINGS: A pinch of your favorites can take it to the next level!
- Garlic Powder: 1/4 teaspoon mixed into the softened butter for a lovely aromatic touch.
- Paprika: Adds a hint of color and smoky flavor.
- Dried Italian Herbs: Gives your roll-ups a Mediterranean flair.
Substitutions and Tips
Need a swap? If you don’t have white bread on hand, feel free to use whole wheat or even a nice sourdough for extra flavor. For the cheese, experiment with different combinations or go for a vegan cheese if desired—though it won’t be quite as rich, you’ll still enjoy the crispy exterior! A sprinkle of chili flakes can also spice things up for a fun twist.
A practical tip: when rolling the bread, ensure that it is as thin as possible—this will help create a tighter roll-up and makes them easier to cook evenly.
Kitchen Tools You’ll Need
- Rolling pin (or a sturdy bottle)
- A nonstick skillet (or griddle)
- Tongs (for flipping gently)
- Knife (for crust removal and butter spreading)
- Cutting board (for preparing ingredients)
- Plate (for serving those golden roll-ups)
How to Make Grilled Cheese Roll Ups
Let’s dive into creating these delicious Grilled Cheese Roll Ups. I’ve broken down the process into simple steps to make it a breeze. Follow along, and you’ll have a delightful snack in no time. We’re aiming for crispy, golden rolls filled with gooey cheese!
Flatten the Bread for Optimal Roll-ability
First, place one slice of crustless bread on a clean, flat surface. Using a rolling pin, firmly but gently roll the bread as thinly as possible, almost like a tortilla. Aim for a thickness of about 1/16 to 1/8 inch. This step is key; if the bread isn’t thin enough, it will be difficult to roll tightly.
Add Your Cheese Filling
Next, place the cheese slice (or a neat line of shredded cheese) along one edge of the flattened bread, leaving a small border (about 1/4 inch) on the sides. If you’re using optional seasonings like paprika or herbs, sprinkle them over the cheese now to infuse flavor.
Spread with Butter for Golden Crunch
Now, if you’re using softened butter, gently spread a thin, even layer over the entire surface of each roll-up. This will ensure that your roll-ups achieve that golden-brown, crispy exterior we all crave.
Positioning for Perfect Cooking
Carefully place the buttered roll-ups seam-side down in the preheated skillet. This is where the magic happens! You may need to cook them in batches to avoid overcrowding the pan, which can lower the temperature and result in less crispy roll-ups.
Sear for a Golden Finish
Cook for 2-4 minutes on the first side, or until golden brown and crispy. You’ll want that crunch to contrast with the ooey-gooey cheese inside!
Gently Turn for Even Crispiness
Using tongs, carefully turn the roll-ups to cook on another side. Continue to cook and turn, approximately 1-2 minutes per side until all sides are golden brown and crispy, and the cheese inside is fully melted and gooey. You might notice some cheese oozing out—that’s the best part!
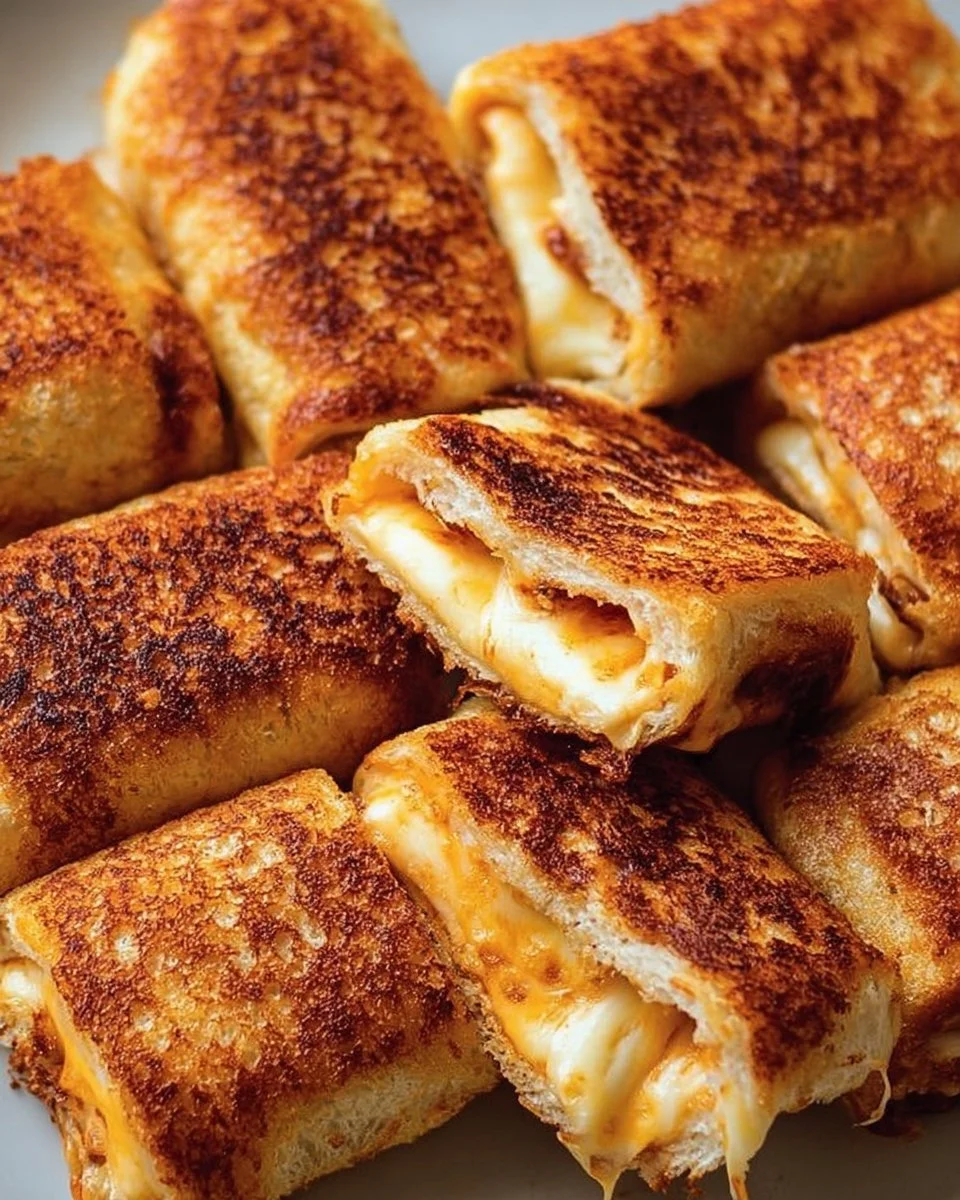
Serve Immediately for Maximum Enjoyment
Finally, it’s best to serve these beauties immediately while they are hot, the bread is crispy, and the cheese is at its meltiest. Trust me; the aroma alone will have everyone flocking to the table!
How to Store Grilled Cheese Roll Ups
If by chance you have leftovers, these roll-ups store well. Let them cool to room temperature before placing them in an airtight container in the refrigerator for about 3-4 days. For longer storage, you can freeze them—just place in a freezer bag for up to 2-3 months. Thaw overnight in the fridge before reheating. To reheat, pop them back in the skillet for a few minutes until warmed through.
Tips for Success
- Use fresh, soft bread for the best rollability.
- Don’t overfill with cheese; a little goes a long way!
- Ensure the skillet is adequately heated before adding the roll-ups.
- Butter the bread generously for the best crispiness.
- Serve hot for ultimate cheese pull satisfaction!
Serving Suggestions
- Pair with a side of tomato soup for a classic combination.
- Add a fresh green salad for a balanced meal.
- Serve with homemade marinara sauce for dipping.
- Enjoy with a chilled glass of lemonade or iced tea.
- Garnish with fresh herbs or a sprinkle of chili flakes for an extra kick.
These Grilled Cheese Roll Ups are not just snacks; they’re a warm, comforting reminder of simpler times, each bite bringing a smile. I hope you enjoy preparing and savoring them as much as I do! Happy cooking!