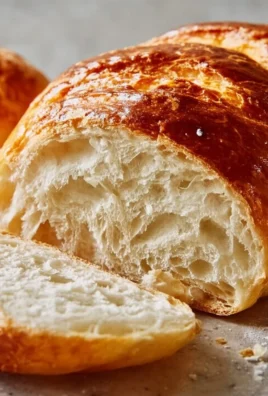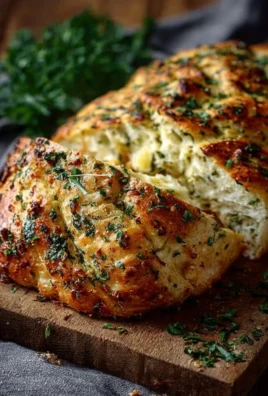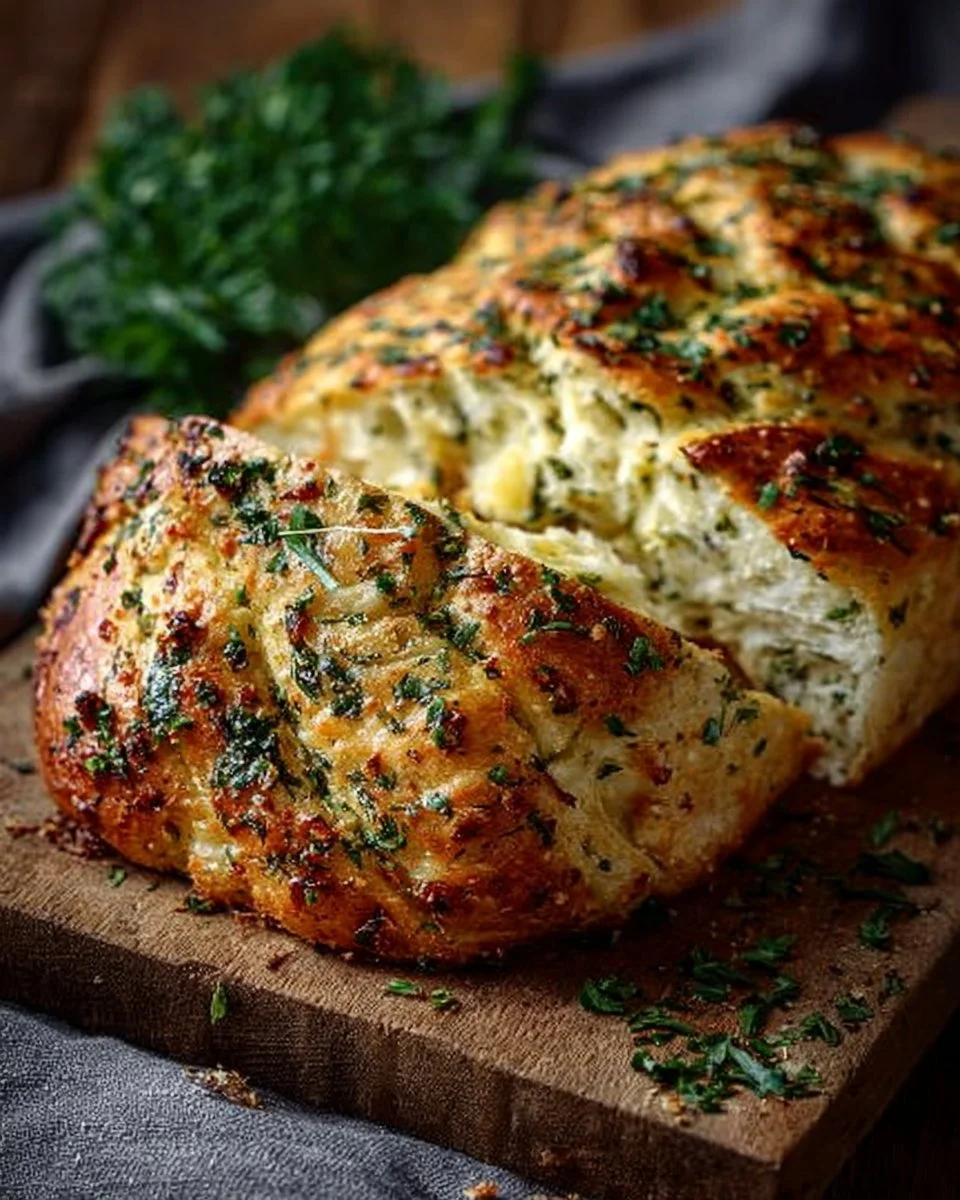
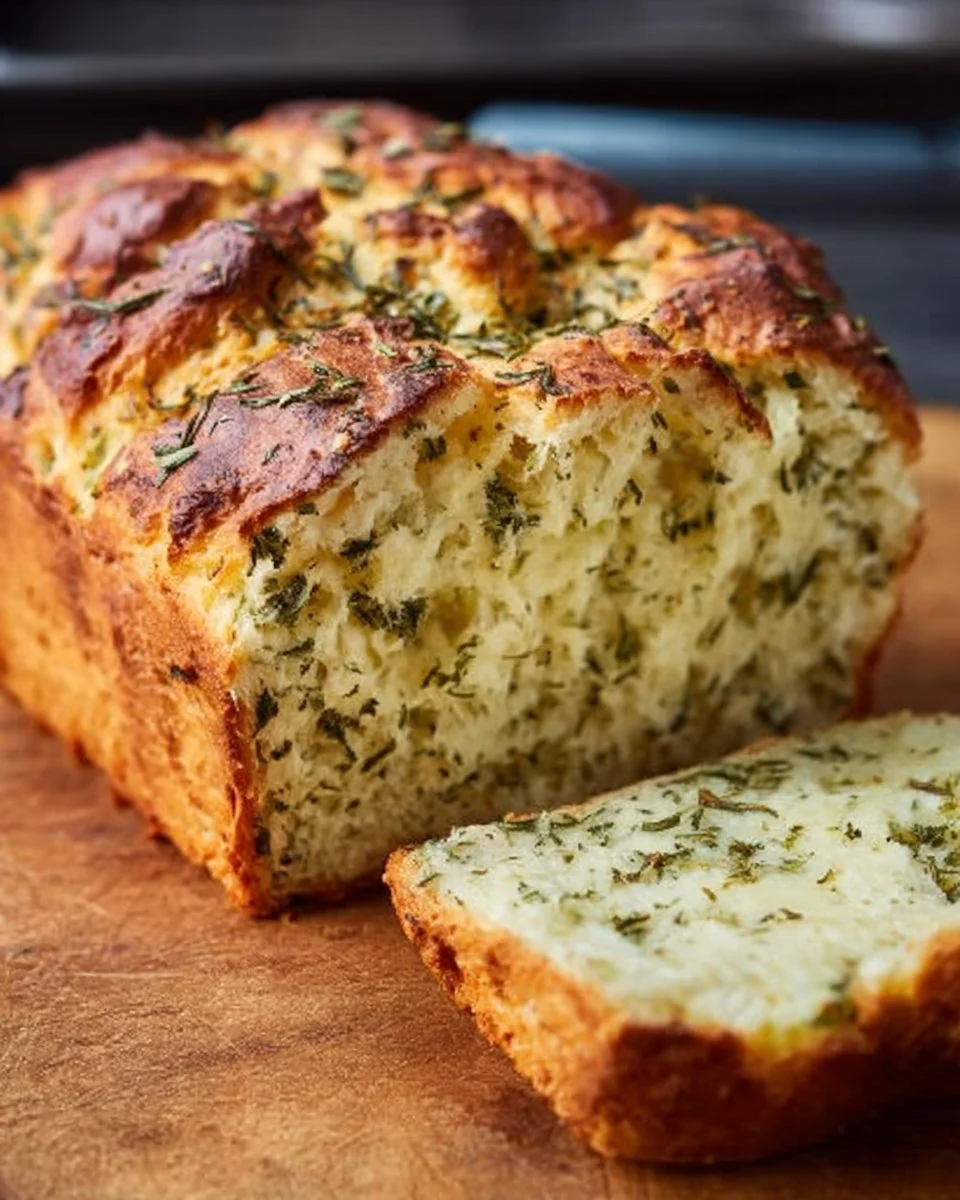
I’ve found that nothing brightens a kitchen like the smell of freshly baked bread—warm, herb-speckled crust giving way to a tender, cheesy crumb. The finished loaf is golden and rustic, flecked with green from the herbs and pockets of melted, stringy cheese that make every slice a small celebration; honestly, it’s a staple in my kitchen whenever I crave comfort and a little indulgence. I make it for cozy dinners, impromptu guests, and those quiet afternoons when I want the house to smell like bliss.
It comes together surprisingly quickly for something that tastes so fancy, and it’s forgiving if your timing isn’t perfect. It’s great as a side for soups or salads, fantastic for sandwiches the next day, and much easier to wrap up and reheat than you’d think. If you ever need tricks for speeding up homemade loaves, check out my quick guide to making bread in under half an hour: my 20-minute homemade bread guide.
WHY I LOVE Italian Herbs and Cheese Bread
Italian Herbs and Cheese Bread hits that sweet spot between rustic and a little show-offy—yet it’s incredibly easy and undeniably delicious. The crust gets delightfully crisp while the inside stays soft and chewy, and those herb notes with melty cheese? Pure comfort. It’s versatile enough to play supporting role at a dinner party or to be the star at Sunday brunch—truly a winner at my table.
Italian Herbs and Cheese Bread INGREDIENTS
The magic of this Italian Herbs and Cheese Bread truly lies in the simple, well-matched ingredients: aromatic dried herbs, a little cheese for richness, and flour and yeast working their slow alchemy into a loaf that feels like a blessing. Don’t worry about exact measurements just yet; those are all in the recipe card for you!
Essential Components
- ALL-PURPOSE FLOUR: 4 cups — This is the backbone of the loaf; it provides structure while still keeping the crumb tender and approachable. These are the stars!
- ACTIVE DRY YEAST: 1 packet (2¼ teaspoons) — The little workhorse that gives the bread lift and that airy texture; let it bloom so you know it’s alive.
- WARM WATER: 1¾ cups (about 110°F) — Activates the yeast and forms the dough; warm, not hot, is key so the yeast doesn’t get shocked.
- SALT: 1 tablespoon — Balances the flavors and tightens the gluten network; don’t skimp.
- SUGAR: 1 tablespoon — A tiny bit of food for the yeast and a touch of lovely browning on the crust.
- DRIED ITALIAN HERBS: 2 tablespoons (like basil, oregano, thyme, and rosemary) — These little gems pack a mighty punch of flavor and aroma.
- SHREDDED MOZZARELLA CHEESE: 1 cup — For gooey, melty pockets throughout the loaf; these are the indulgent bits.
- GRATED PARMESAN CHEESE: ½ cup — Adds a nutty, salty lift that complements the herbs brilliantly.
- EXTRA FLOUR FOR DUSTING: As needed — Keeps the dough manageable while kneading and shaping.
SUBSTITUTIONS AND TIPS
Need a swap? Here are a few friendly alternatives and flavor twists:
- Swap the ALL-PURPOSE FLOUR for bread flour if you want a chewier, loftier crumb (it’ll be slightly more structured).
- Use a mixture of MOZZARELLA and sharp cheddar for a bolder, tangier cheese pull—though it won’t be quite as milky as mozzarella alone.
- Fresh herbs can be used in place of the DRIED ITALIAN HERBS (about three times the amount by volume), and they’ll give the loaf a brighter, garden-fresh quality.
- For a richer loaf, replace a quarter cup of water with whole milk or add a tablespoon of olive oil—this keeps the crumb soft longer.
Practical tip: if your kitchen is cool, give the dough a warm spot to rise (an oven with the light on works wonders). And if the dough sticks too much during kneading, add flour a tablespoon at a time—less is more here.
KITCHEN TOOLS YOU’LL NEED
- Large mixing bowl (at least 4-quart)
- Measuring cups and spoons (for accuracy)
- Bench scraper (or a sturdy spatula) for handling dough
- Loaf pan (9×5 inch) or baking sheet for free-form loaves
- Kitchen towel or plastic wrap to cover the dough
- Instant-read thermometer (optional, for checking internal temp)
HOW TO MAKE Italian Herbs and Cheese Bread
Let’s dive into creating this comforting Italian Herbs and Cheese Bread. I’ve broken down the process into simple steps. Follow along, and you’ll have a delicious loaf in no time. We’re aiming for a loaf with a golden crust, an airy yet tender crumb, and ribbons of melted cheese throughout.
Step-by-Step Guide:
Prep the Yeast and Water to Wake It Up
First, combine the warm water (about 110°F), sugar, and yeast in a large mixing bowl and let it sit for about 5 minutes until it becomes frothy. This bloom tells you the yeast is active—this step is key for a reliable rise. If nothing happens, it’s okay to start over with fresh yeast.
Mix the Dry Ingredients and Add Cheese to Build Flavor
Next, add the flour, salt, dried Italian herbs, MOZZARELLA CHEESE, and PARMESAN CHEESE to the yeast mixture and mix until a sticky dough forms. Make sure the cheese is evenly distributed so every bite has those savory pockets—those bits are where the deep flavor lives.
Knead the Dough Until Smooth and Elastic
Transfer the dough to a floured surface and knead for about 8–10 minutes, until it’s smooth and elastic; add a little more flour only if the dough is too sticky. This is where the gluten develops, so be patient—you want a soft, slightly tacky dough that pulls into a nice elastic membrane.
Proof the Dough to Double in Size
Place the kneaded dough in a greased bowl, cover it with a clean kitchen towel, and let it rise in a warm place for about 1–2 hours, or until it doubles in size. This slow puff is magical—once doubled, the dough will feel light and airy when you gently press it.
Shape the Loaf and Give It a Final Rise
Punch down the risen dough to release air and shape it into a loaf or place it in a greased bread pan; cover and let it rise for another 30 minutes. Shaping well helps the loaf rise evenly and look beautiful when baked—take a moment to make it tidy.
Preheat and Create Steam for a Crispy Crust
Preheat your oven to 450°F (230°C) and place a shallow pan of water at the bottom to create steam. That steam helps the crust develop a glossy, crisp exterior while the inside bakes to tender perfection.
Bake Until Golden and Hollow-Sounding
Bake the bread for 25–30 minutes or until it turns golden brown and sounds hollow when tapped; the internal temperature should reach 200–210°F. This is the finish line—go by color, sound, and temp to be certain it’s done.
Cool Before Slicing to Finish the Crumb
Let the bread cool on a wire rack before slicing so the crumb sets properly; enjoy warm or at room temperature. It’s tempting to slice right away, but waiting just a bit yields cleaner slices and a better texture.
HOW TO STORE Italian Herbs and Cheese Bread
Leftovers keep surprisingly well because of the cheese and hearty flour. Store at room temperature in a paper bag or wrapped in a clean kitchen towel for 1–2 days to keep the crust pleasant. In the refrigerator, place in an airtight container for up to 3–4 days (it may firm the crust). For longer storage, freeze wrapped tightly for 2–3 months and thaw at room temperature; reheat in a 350°F oven for 10–12 minutes to revive the crust. Reheating in a toaster oven also works nicely.
TIPS FOR SUCCESS
- Let the yeast bloom. If it doesn’t get frothy, your yeast may be dead—always check!
- Don’t over-flour when kneading; a slightly tacky dough gives the best crumb.
- Distribute the cheese evenly so it pockets throughout the loaf rather than clumping.
- Use the shallow pan of water trick for steam—this is how you get a crisp, beautiful crust.
- Let the loaf cool before slicing for cleaner slices and a set crumb.
SERVING SUGGESTIONS
- Serve thick slices with a bowl of tomato basil soup for a classic, comforting combo.
- Turn slices into sandwiches with roasted vegetables and a smear of pesto for a tasty lunch.
- Offer small wedges with an antipasto platter of olives, cured meats, and marinated artichokes.
- Pair with a crisp white wine like Pinot Grigio or a light-bodied red like Chianti for dinner.
- Garnish with a drizzle of good olive oil and a sprinkle of extra Parmesan for a pretty presentation.
Conclusion
If you want a fun riff on popular sandwich-shop loaves, you can compare techniques with this Subway-style Italian Herb and Cheese copycat for more inspiration. For another take and additional tips on the herb-and-cheese combination, I like this detailed Italian Herb and Cheese Bread Subway Copycat Recipe.