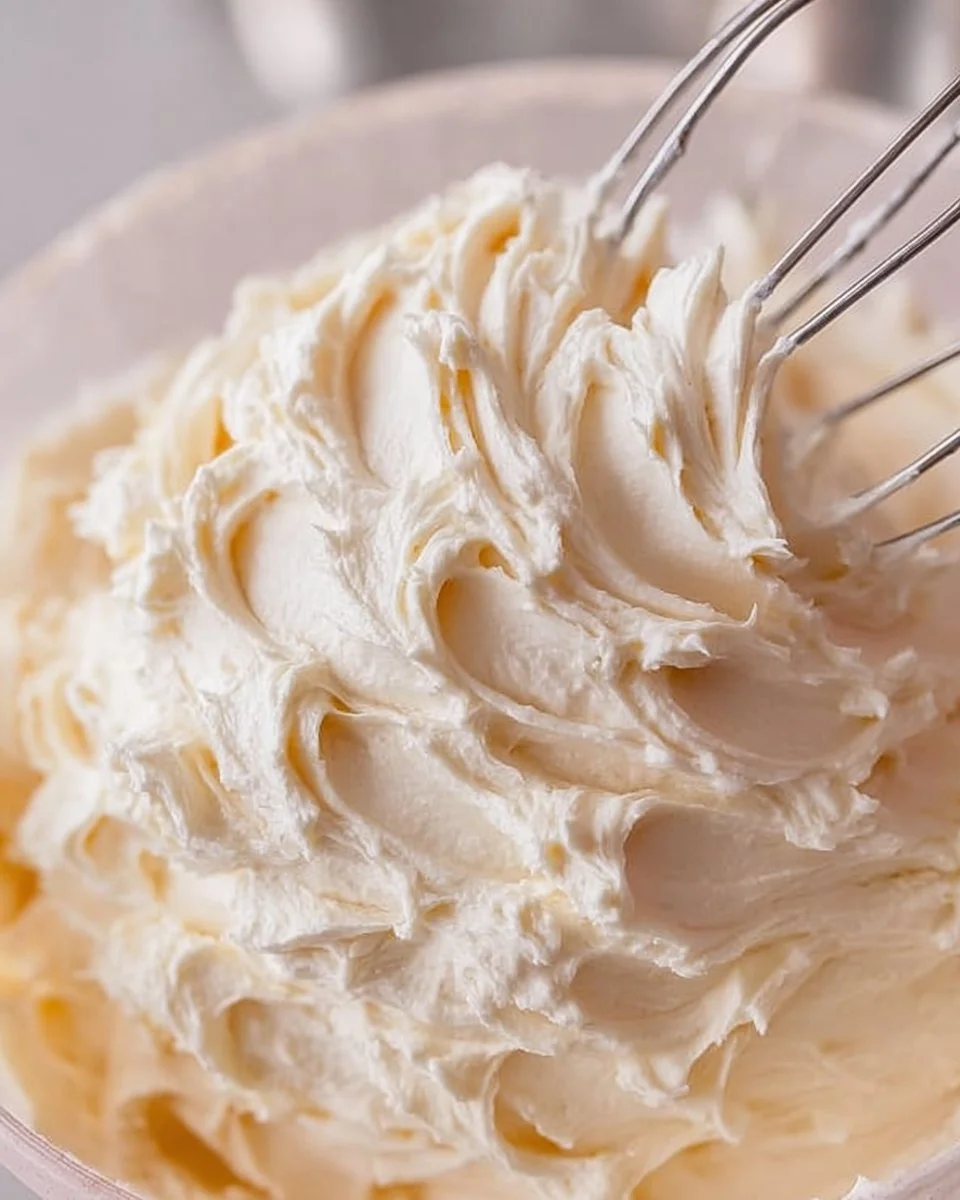
There’s something truly special about the creamy, dreamy texture of Sweetened Condensed Milk Frosting. It glides smoothly onto cakes and cupcakes, transforming even the simplest dessert into a delightful treat. The luscious sweetness is complemented by a hint of vanilla, providing an indulgent finish that’s hard to resist. I find myself making this frosting for birthdays, special occasions, or just to brighten up a Tuesday—it’s a total mood lifter!
This frosting comes together surprisingly fast, making it perfect for busy weeknights when you crave something sweet but don’t have all day to spend in the kitchen. Whether it’s slathered on a homemade chocolate cake or dolloped generously on cupcakes, this frosting is versatile enough for any occasion. And the best part? Leftovers (if there are any) can be stored and enjoyed for days!
Why I Love Sweetened Condensed Milk Frosting
Sweetened Condensed Milk Frosting (Russian Buttercream)
Let me tell you, this Sweetened Condensed Milk Frosting is a true winner at my table! It hits that sweet spot with just the right amount of sweetness and a velvety texture that’s incredibly easy and undeniably delicious. Plus, it’s elegant enough for special occasions yet simple enough for casual baking days. I often find myself whipping it up for everything from family gatherings to cozy nights in.
Sweetened Condensed Milk Frosting Ingredients
The magic of this frosting truly lies in the balance of its ingredients. They come together to create a texture and flavor that’s simply irresistible! Don’t worry about exact measurements just yet; those are all in the recipe card for you!
Essential Components
- 1 CUP UNSALTED BUTTER (room temperature): The star of the show! It provides that rich, buttery flavor and a creamy texture.
- 1 14 OZ CAN SWEETENED CONDENSED MILK: This little gem packs a mighty punch of sweetness and creaminess that makes the frosting absolutely luxurious.
- 1 TSP VANILLA EXTRACT (optional): For that warm, comforting flavor that brings everything together.
- ¼ TSP SALT (optional): Just a pinch to balance the sweetness and enhance the flavors.
Substitutions and Tips
Need a swap? If you’re out of unsalted butter, salted butter can work in a pinch, though it won’t be quite as rich. For a lighter option, you can use half the amount of sweetened condensed milk for a less sweet and lighter frosting. Want to switch things up? Try experimenting with different extracts like almond or hazelnut for a unique twist.
And here’s a tip: if your frosting looks separated or curdled at any point, placing it in the fridge for 15-20 minutes and then re-whipping can work wonders and bring it back to smooth perfection!
Kitchen Tools You’ll Need
- Stand mixer or hand mixer (with a whip attachment): Essential for whipping the butter to perfection.
- Large mixing bowl: A spacious area for all your whipping and mixing.
- Rubber spatula: Perfect for scraping down the sides of the bowl.
- Measuring cups and spoons: To ensure you’re getting the right amounts.
- Storage container: For keeping that delicious frosting fresh if there are any leftovers!
How to Make Sweetened Condensed Milk Frosting
Let’s dive into creating this creamy Sweetened Condensed Milk Frosting. I’ve broken down the process into simple steps. Follow along, and you’ll have a delicious frosting in no time. We’re aiming for a light, fluffy texture that holds its shape beautifully!
Whip the Butter to Perfection
First, using a whip attachment with your standing mixer or a hand-held mixer with a large bowl, whip the softened unsalted butter on high for about 10 minutes until it becomes very pale and light, almost tripling in size. This step is key; the more air you incorporate, the fluffier your frosting will be!
Gradually Add Sweetened Condensed Milk
Next, once the butter has reached that fluffy state, slowly add the sweetened condensed milk in 3 or 4 additions, mixing in between each addition. Scrape down the sides of the bowl with a rubber spatula as needed. Keep an eye on the consistency—it should be smooth and creamy. You don’t need to use the whole can if you’re happy with the flavor and texture!
Rescue a Separated Frosting
Now, if at any point the frosting looks separated or curdled, don’t panic! Simply place the bowl in the fridge for 15-20 minutes. After chilling, re-whip it until silky smooth. You’ll see, it’s totally fixable!
Add Flavor with Vanilla and Salt
Once smooth and fluffy, mix in the vanilla extract and salt (if using). This final touch adds depth and elevates the flavors, and voila, you’re ready to frost!
How to Store Sweetened Condensed Milk Frosting
This frosting keeps well for several days! At room temperature, it’s best used within a day or two. Store it in an airtight container in the refrigerator, and it should last about 3-4 days. If you want to keep it longer, you can freeze it for 2-3 months. Just be sure to let it thaw in the refrigerator before re-whipping and using!
Tips for Success
- Use room temperature butter; it incorporates better and helps get that fluffy texture.
- Don’t rush the whipping process! The longer you whip, the lighter and airier the frosting.
- Always taste as you go! Adjust sweetness with more or less condensed milk if needed.
- If making ahead, always remember to give it a good re-whip before use to restore its perfect texture.
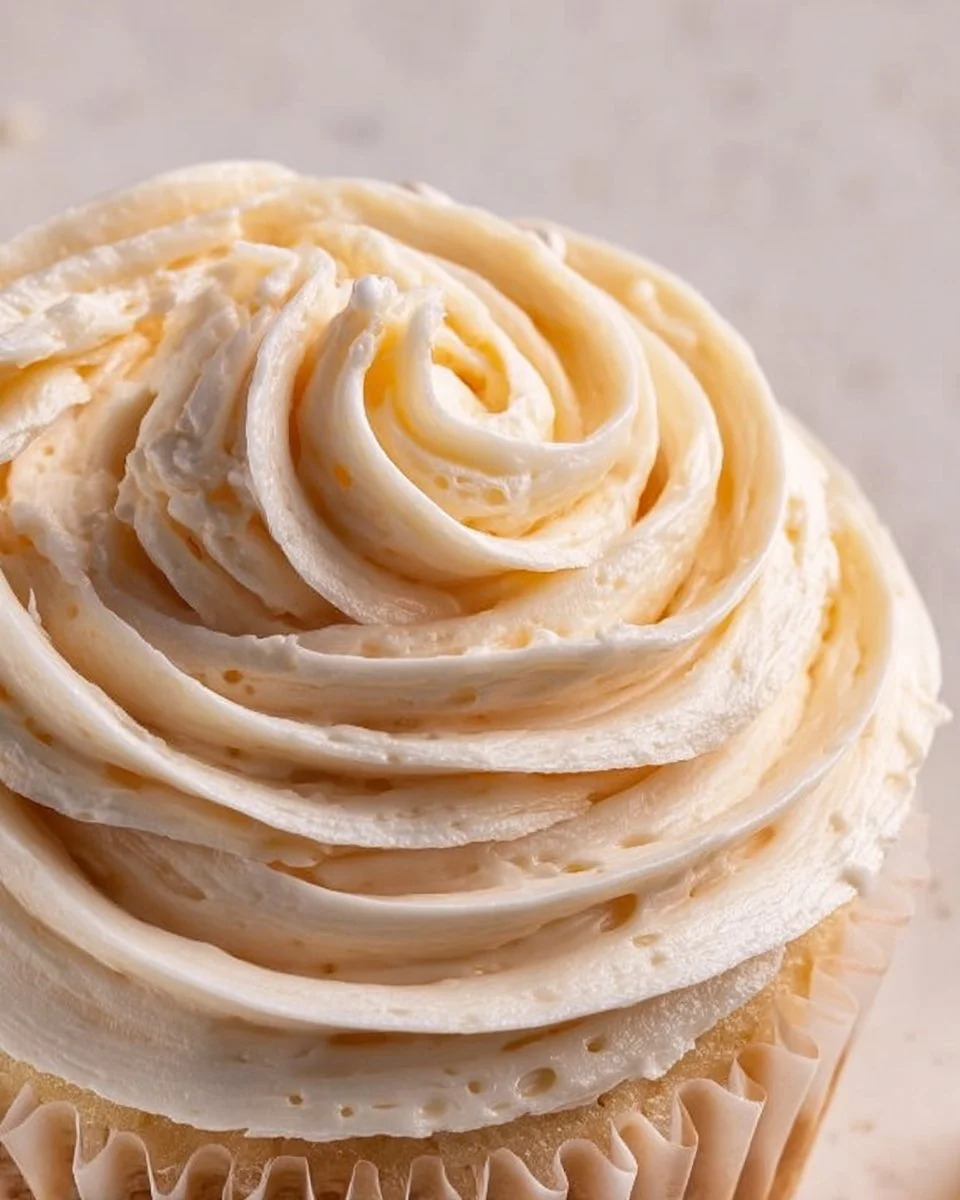
- For a decorative finish, pipe the frosting to create beautiful swirls and peaks.
Serving Suggestions
- Spread on your favorite chocolate or vanilla cake for a rich treat.
- Use as an indulgent topping for cupcakes, adding sprinkles for a fun touch!
- Pair with fresh berries for a delightful dessert.
- Enjoy on brownies for an extra layer of sweetness.
- Serve alongside a warm cup of coffee or tea for the perfect afternoon treat.
Happy frosting, friends! You’ll see how easy it is to elevate your desserts with this Sweetened Condensed Milk Frosting. Enjoy every whip and spread, and know that you’re creating sweet memories in the kitchen!